Difference between revisions of "Managing Windows Member Server Credentials"
Diego Lopes (talk | contribs) |
Diego Lopes (talk | contribs) m (Diego Lopes moved page Managing Windows Credentials to Managing Windows Member Server Credentials: erro) |
(No difference)
| |
Revision as of 14:24, 8 May 2020
To proceed with the steps below, it is necessary:
To have a management account with user password change permissions, that account is used by onepoint to manage and change the password for domain users.
Steps
1- In Onepoint, go to Settings > Asset.
2- Click New.
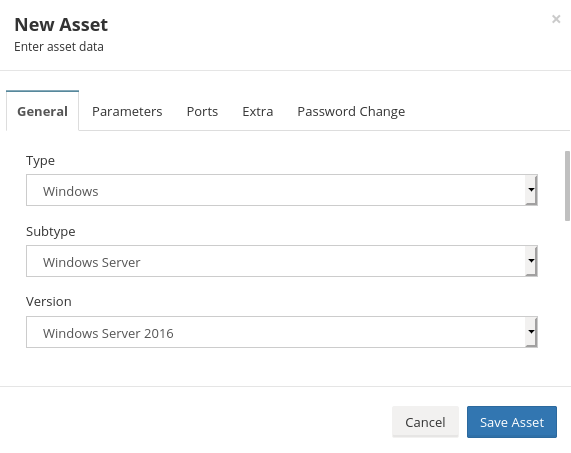
3- Select type. Windows
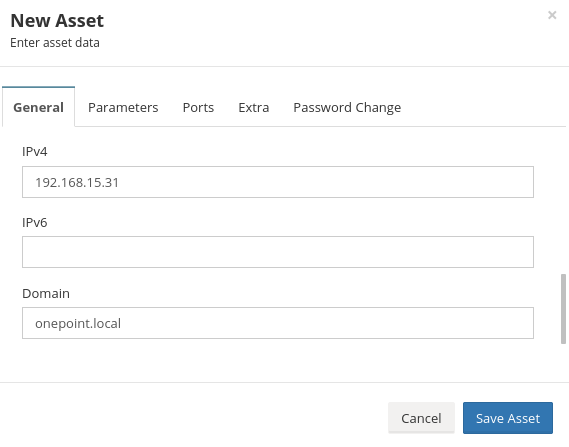
4- Fill in the fields with your Domain information. Name - IPV4 - Domain
NOTE:The information above is demontrative, the filling has to be done according to the information of your domain.
5- Click Save Asset
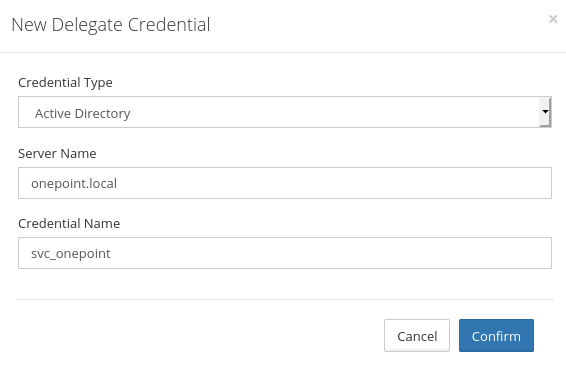
6- In Onepoint, go to Vault > Delegate Credentials, add the management account with password change permissions, below follow the steps that must be performed.
- Click New.
- Credential Type select Active Directory
- Server Name put your domain.
- Credential Name place the management account.
- Click Confirm
NOTE:The information above is demontrative, the filling has to be done according to the information of your domain.
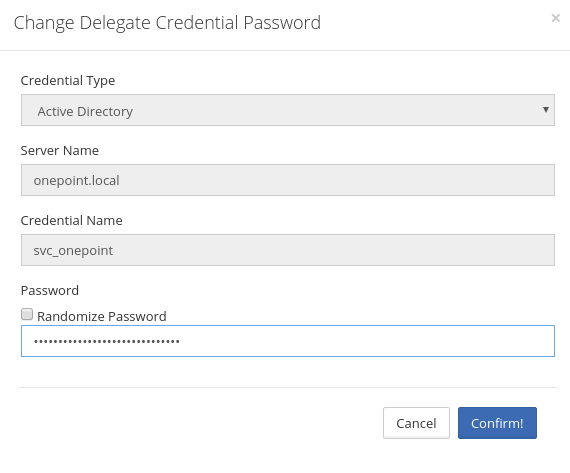
- After performing the step above, click on the password field.
- Uncheck Randomize Password, add the management account password, click Confirm
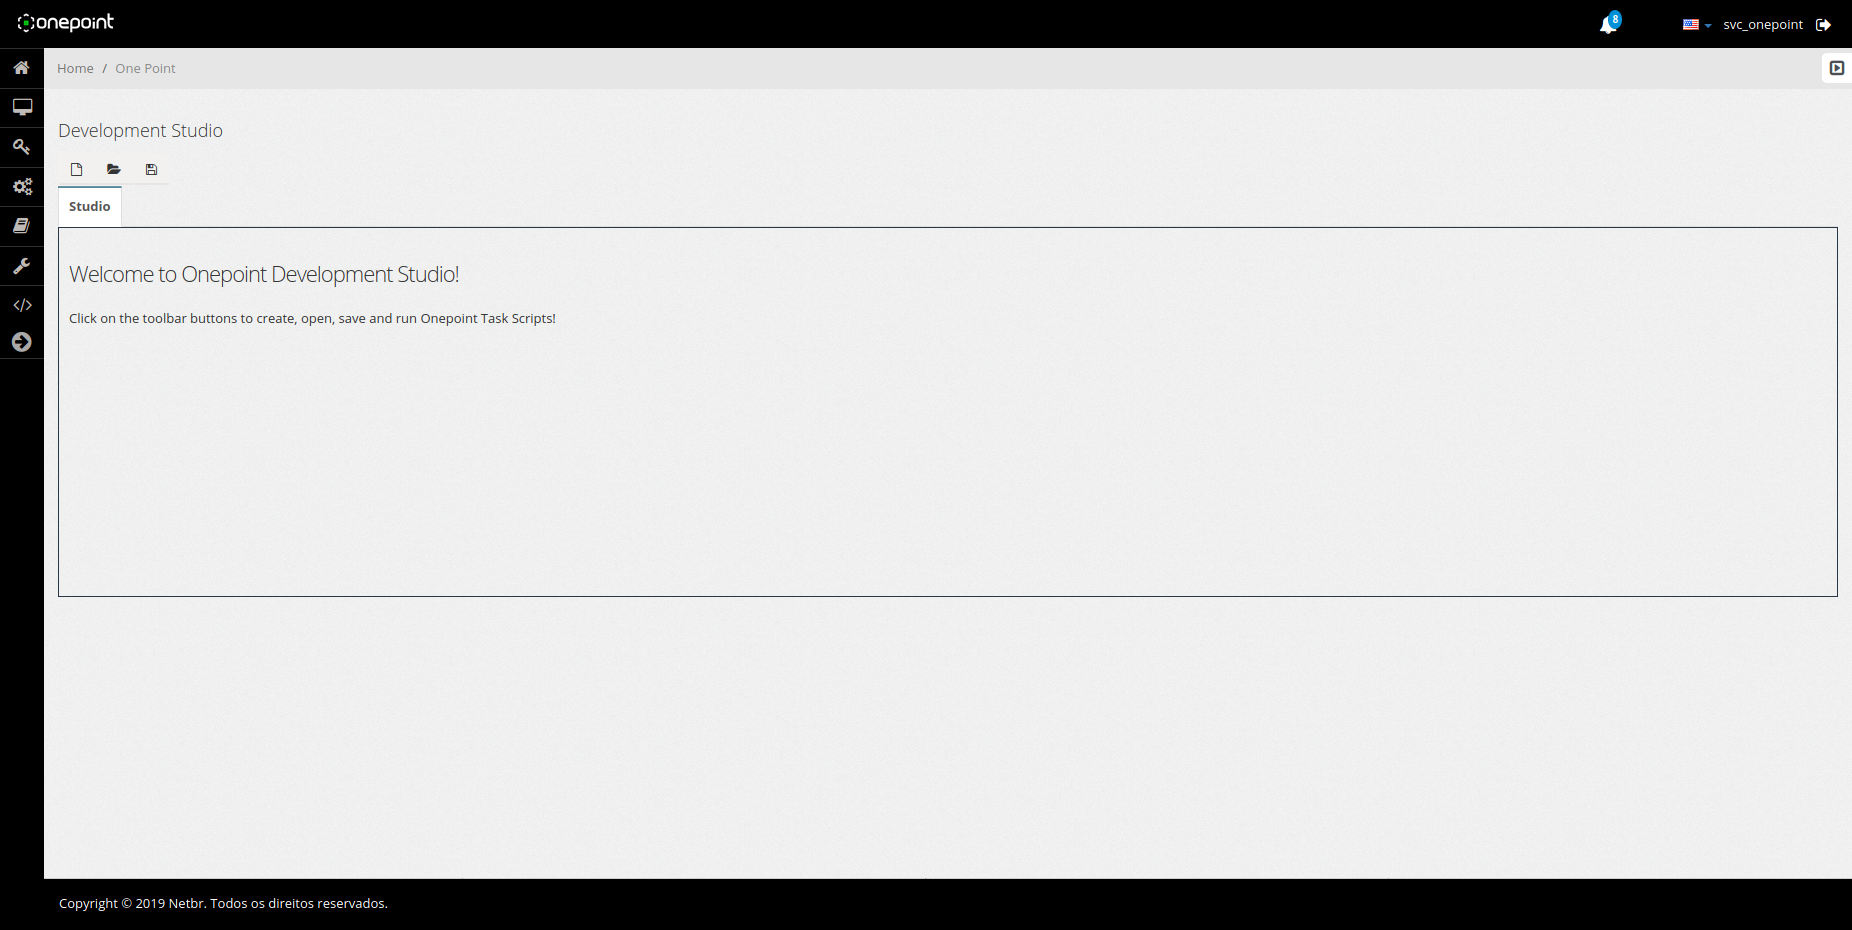
7- Go to Development > Development Studio.
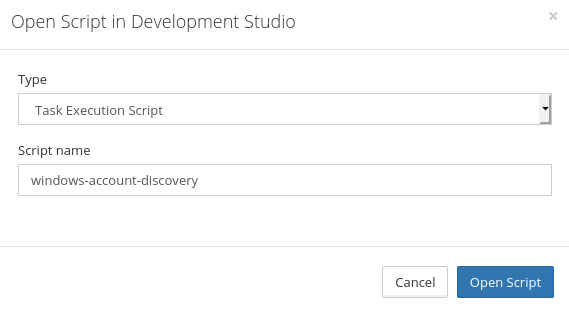
8- Click Open Script in Development Studio, select script name: windows-account-discovery.
- Click Open Script.
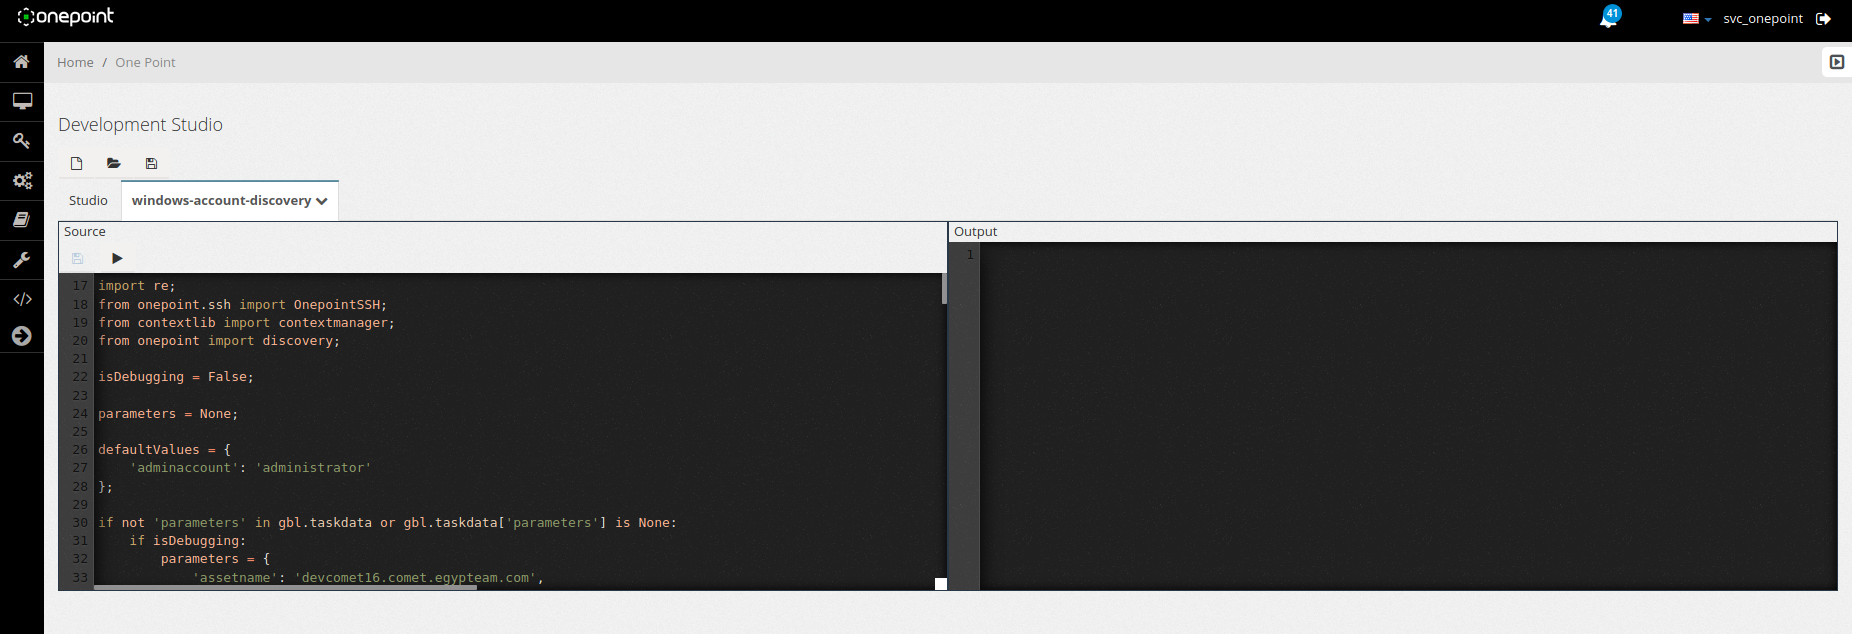
9- Change adminaccount and place a management user with password change permissions.
- After making the necessary change, save the script.
Note: The same management account must be used in the next step.
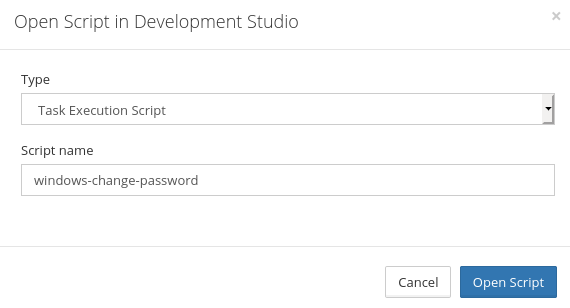
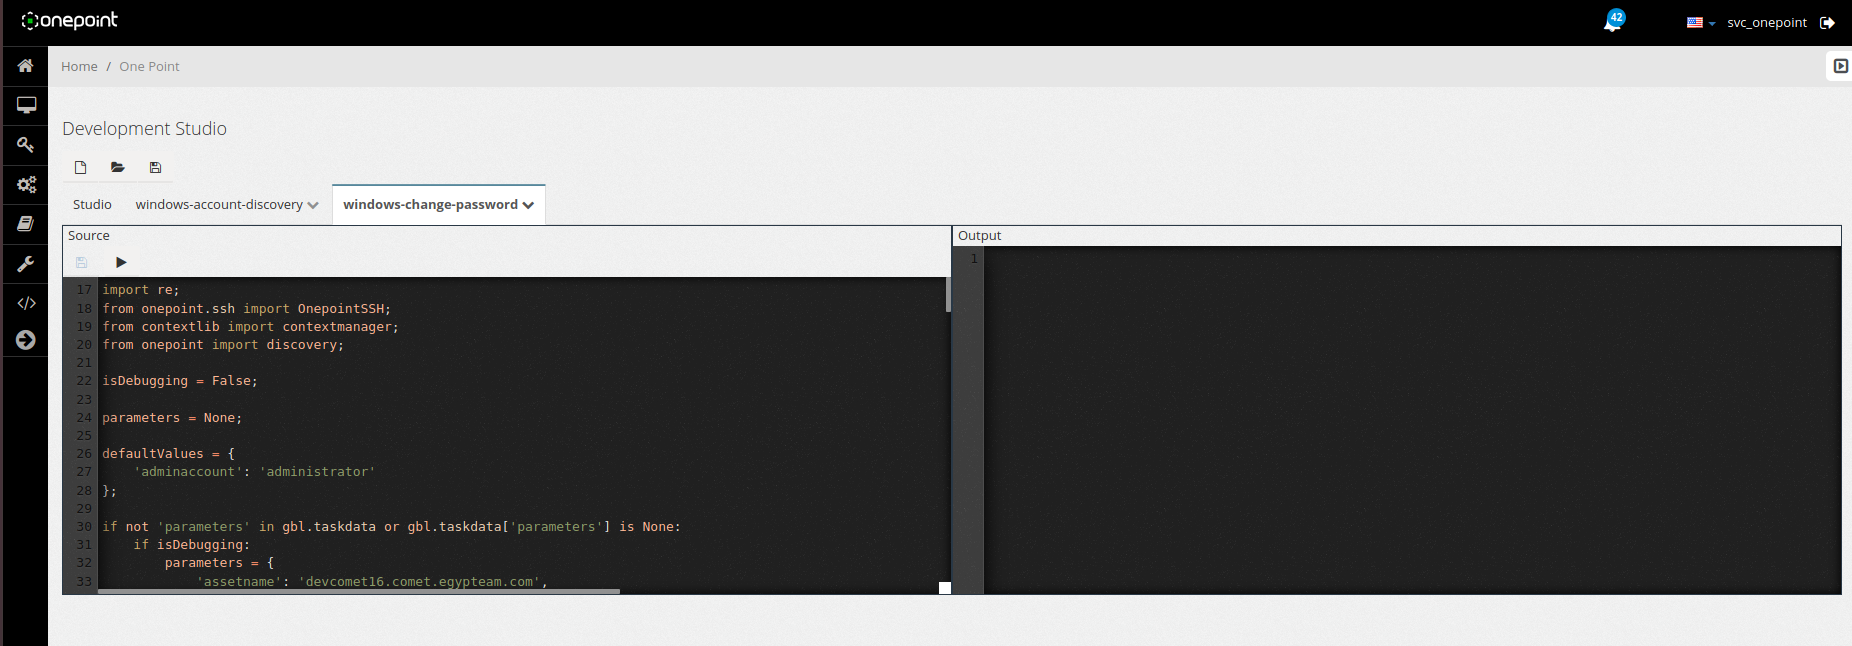
10- Click Open Script in Development Studio, select script name: windows-change-password
- Click Open Script.
11- Change adminaccount and place a management user with password change permissions.
- After making the necessary change, save the script.
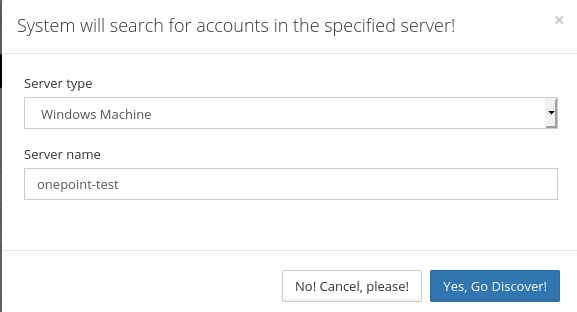
12- In Onepoint, go to Settings>Asset, in the right corner of the screen there is a down arrow, click on it and choose option credential discovery.
- Click YES, Go Discover.
13- In Onepoint, Go to Task Evolution > Task Logs, make sure have completed the credential discovery service.
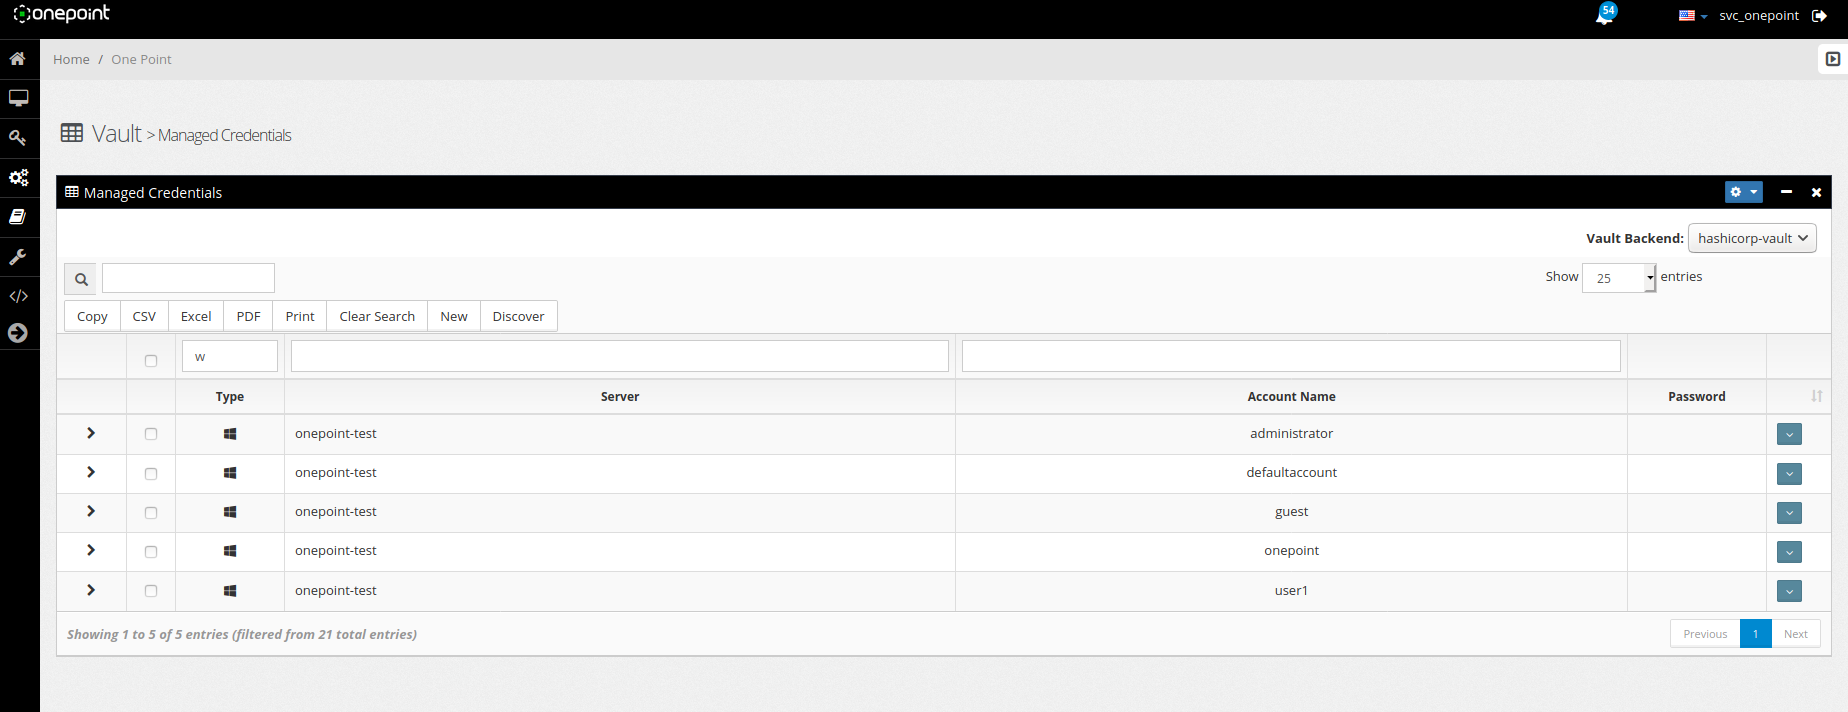
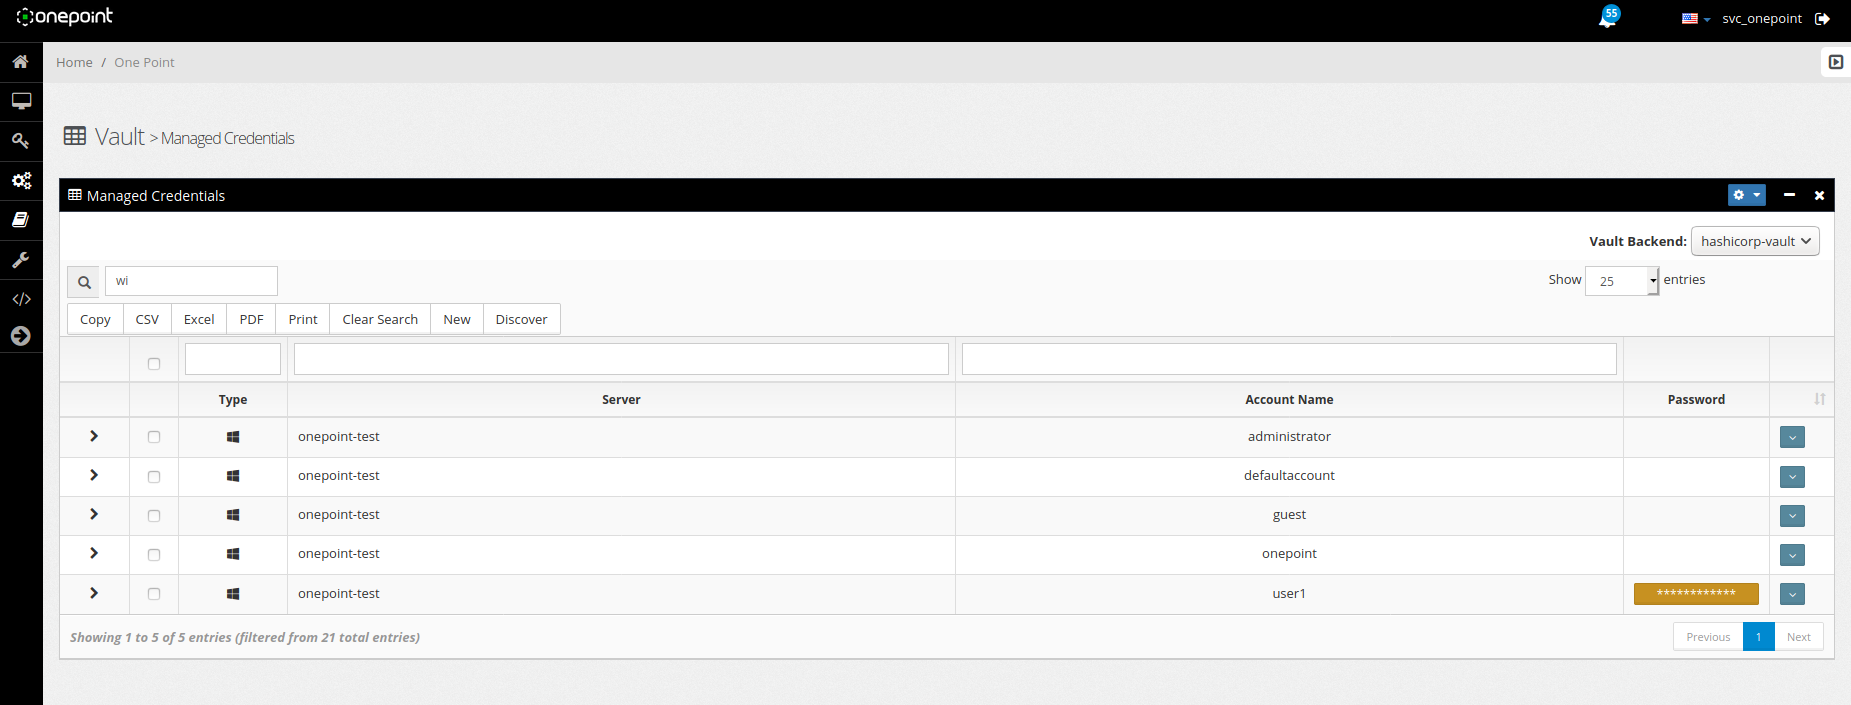
14- In Onepoint, go to Vault > Managed Credentials, it is already possible to view user accounts for your domain.
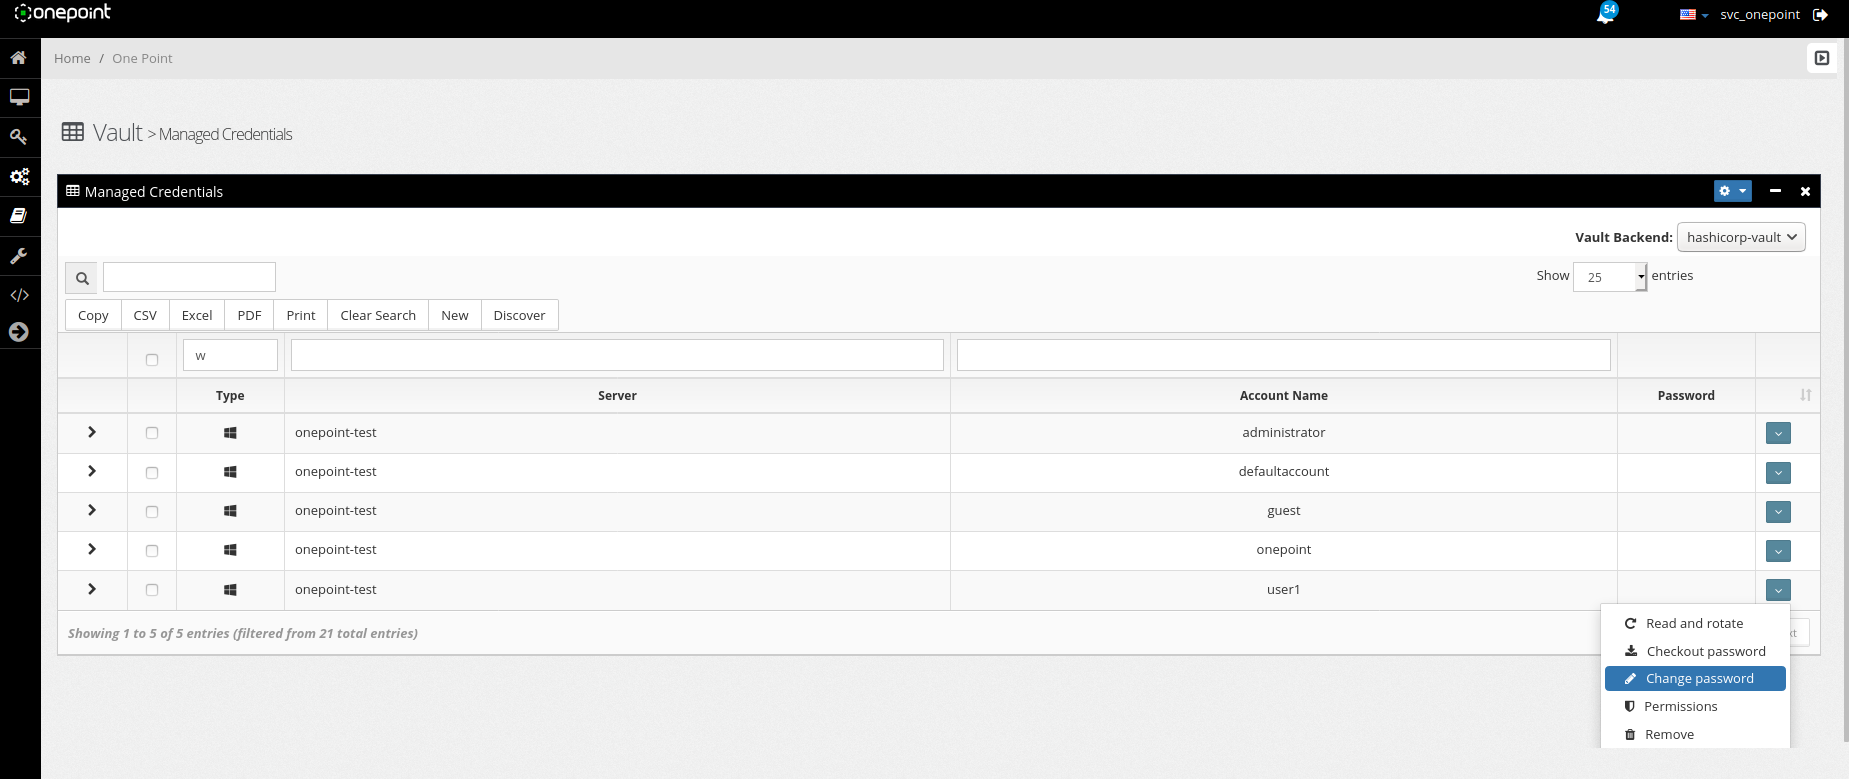
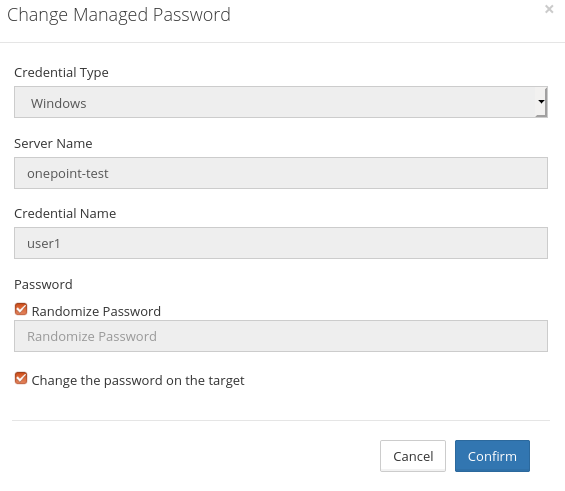
15- In Onepoint, go to Vault > Managed Credentials, choose an account for the password to be enveloped, in the right corner of the screen there is a down arrow click on the option Change password.
- Click Confirm.
16- In Onepoint, Go to Task Evolution > Task Logs, make sure have completed the change password.
17-In Onepoint, go to Vault > Managed Credentials, you will see that the account you chose to be enveloped will have a yellow stripe in the password field, below we will show how you request this password.
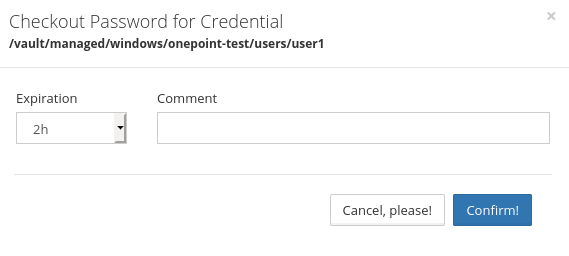
- Click on the yellow field to request the password.
- In the Expiration field, you determine how long the password is available, in the Comment field, make a comment for using the password and click Confirm.
18- In Onepoint, Go to Task Evolution > Task Logs ,you can verify that you have created a task in the future that will be automatically executed for returning and changing password.
19- If you wish to return the password before te specified duration, just follow the steps below.
- In Onepoint, go to Vault > Managed Credentials
- Click on the down arrow where the account you requested the password is and click on the option Check-in Password.
- In Onepoint, Go to Task Evolution > Task Logs, you can verify that the task that was scheduled for the future was performed at the time you checked in the password manually.
