Managing MYSQL Server Credentials
To proceed with the steps below, it is necessary:
Steps
1- In Onepoint, go to Settings > Asset.
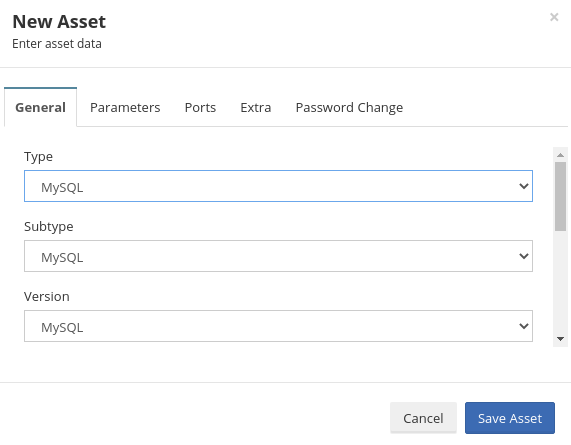
2- Click New.
3- Select type MYSQL.
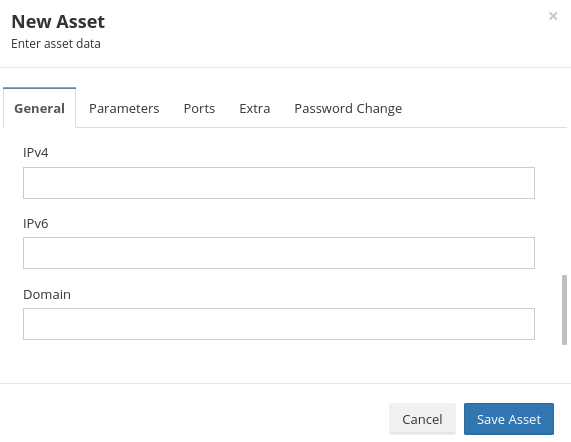
4- Fill in the fields with your Domain information. Name - IPV4 - Domain
5- Save Asset.
6- In Onepoint, go to Vault > Delegate Credentials, add the management account with password change permissions, below follow the steps that must be performed.
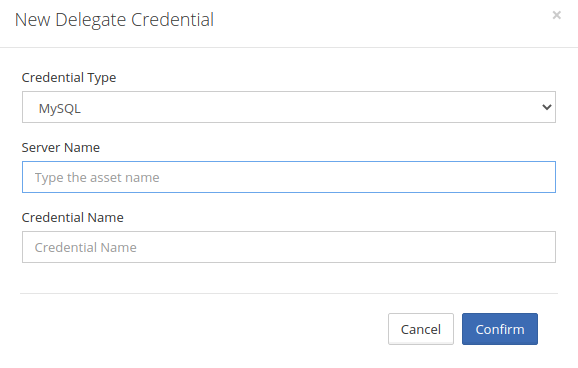
- Click New.
- Credential Type select MYSQL
- Server Name put your domain.
- Credential Name place the management account.
- Click Confirm
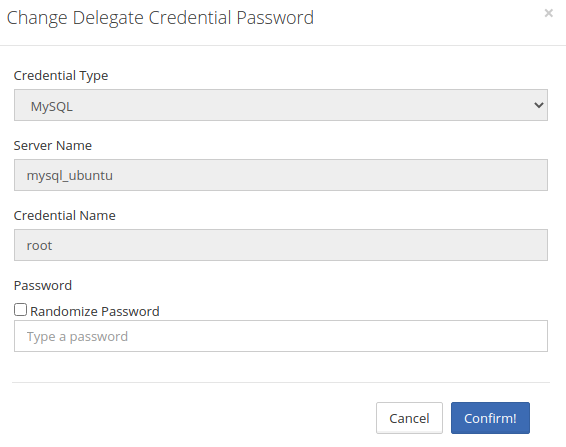
- After performing the step above, click on the password field.
- Uncheck Randomize Password, add the management account password, click Confirm.
7- Go to 'Development > Development Studio.
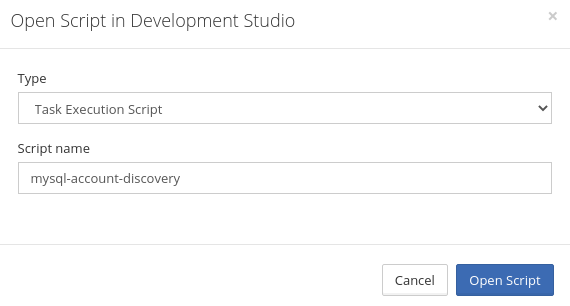
- Click Open Script in Development Studio, select script name: mysql-account-discovery.
- Click Open Script.
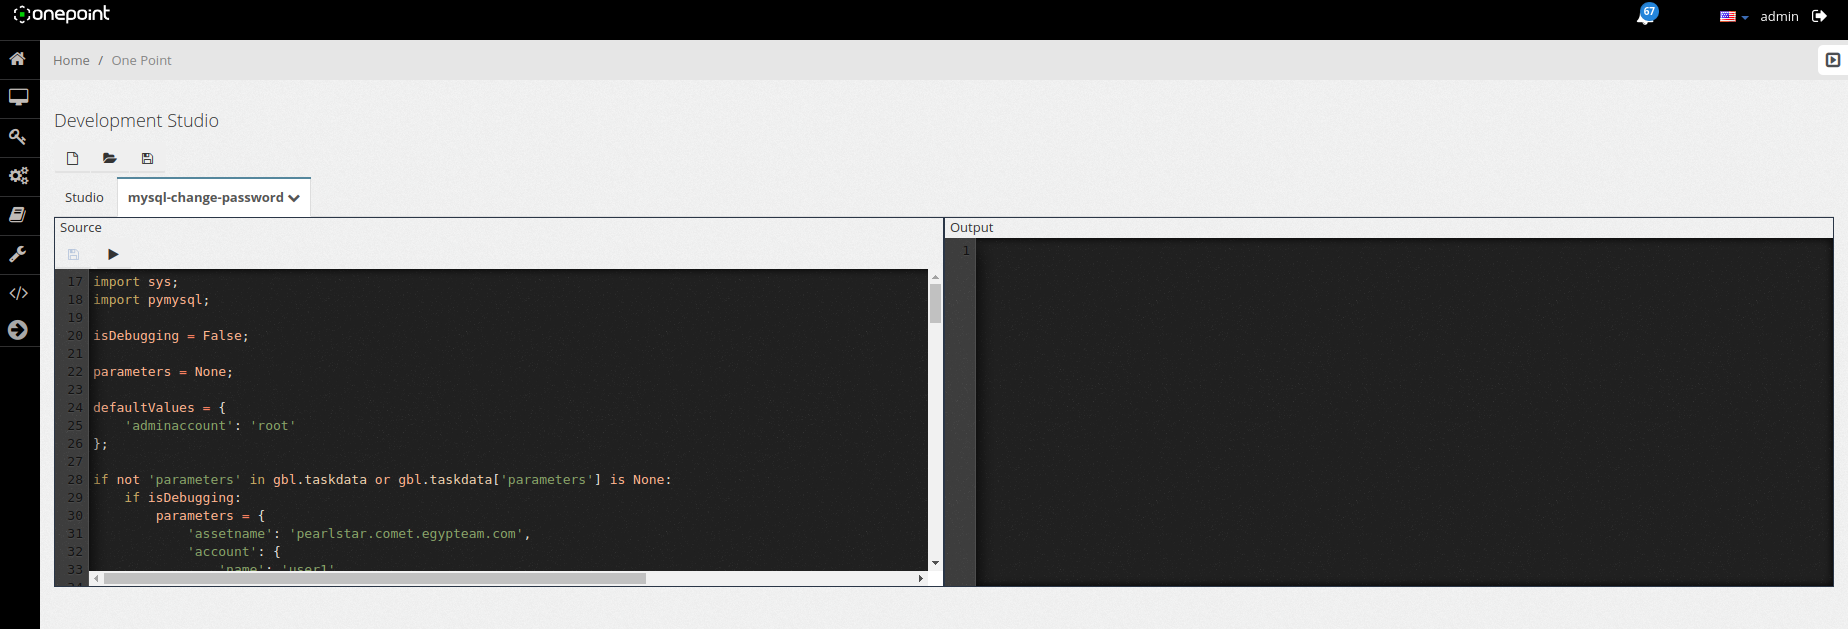
- Change adminaccount and place a management user with password change permissions.
- After making the necessary change, save the script.
Note: The same management account must be used in the next step.
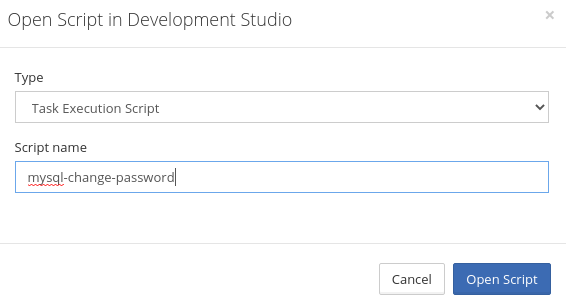
- Click Open Script in Development Studio, select script name:mysql-change-password.
- Click Open Script
- Change adminaccount and place a management user with password change permissions.
- After making the necessary change, save the script.
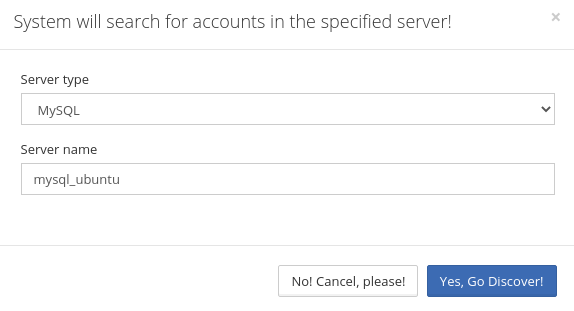
8- In Onepoint, go to Settings>Asset, in the right corner of the screen there is a down arrow, click on it and choose option credential discovery.
- Click YES,Go Discover.
9- In Onepoint, Go to Task Evolution > Task Logs, make sure have completed the credential discovery service.
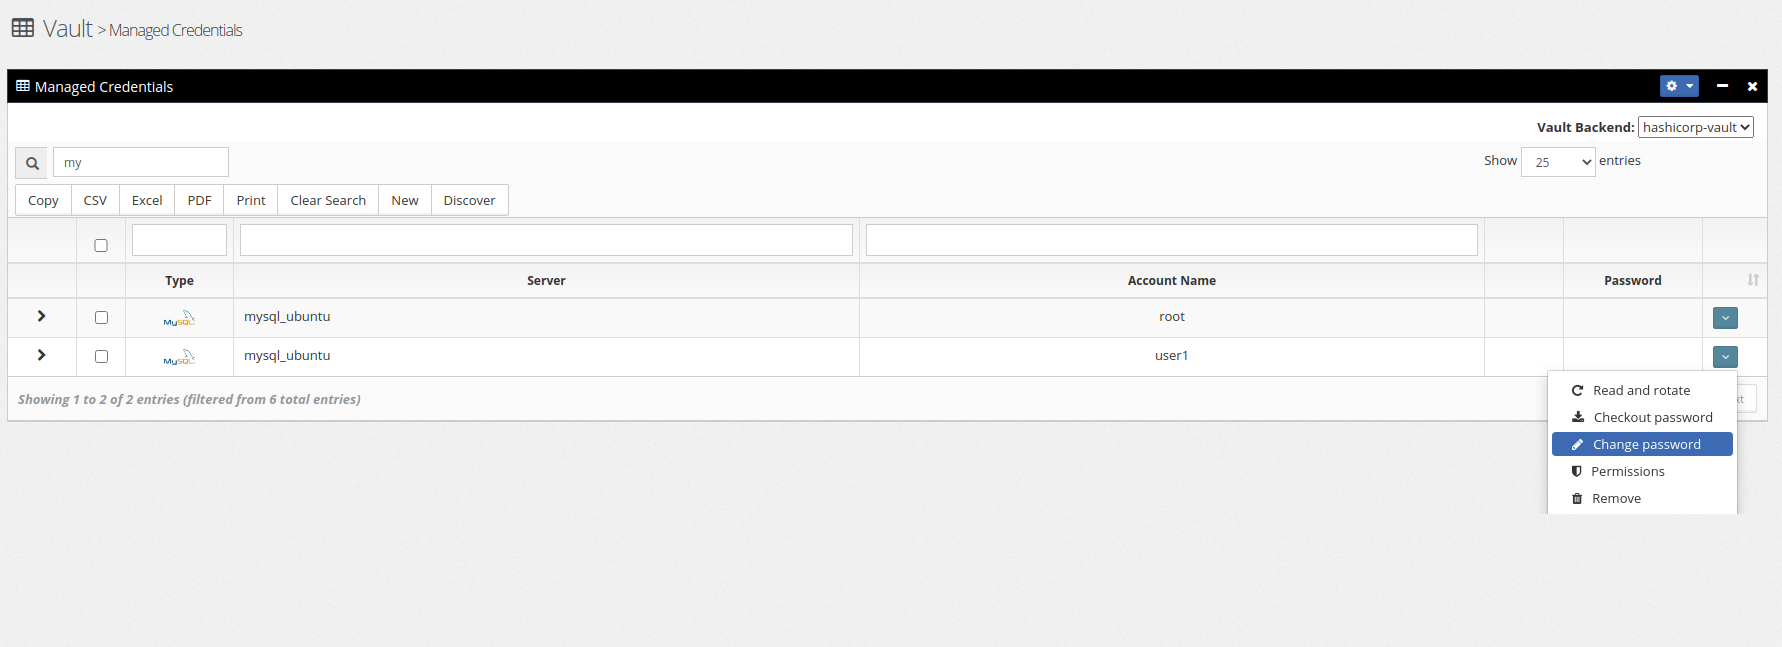
10- In Onepoint, go to Vault > Managed Credentials, it is already possible to view user accounts for your domain.
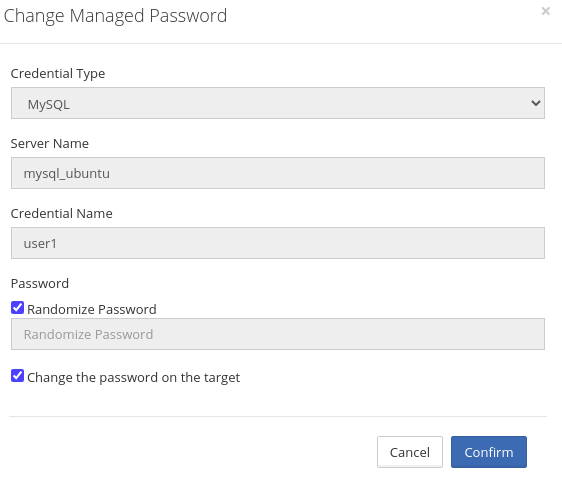
11- In Onepoint, go to Vault > Managed Credentials, choose an account for the password to be enveloped, in the right corner of the screen there is a down arrow click on the option Change password.
- Click Confirm.
12- In Onepoint, Go to Task Evolution > Task Logs, make sure have completed the change password.
13- In Onepoint, go to Vault > Managed Credentials, you will see that the account you chose to be enveloped will have a yellow stripe in the password field, below we will show how you request this password.
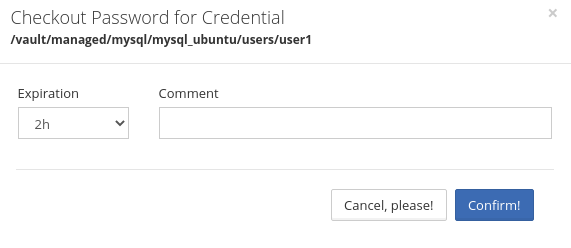
- Click on the yellow field to request the password
- In the Expiration field, you determine how long the password is available, in the Comment field, make a comment for using the password and click Confirm.
- Note that in the password field it turned blue, it means that the password is available and ready to use, to copy the password, just click on the password field.
14- In Onepoint, Go to Task Evolution > Task Logs ,you can verify that you have created a task in the future that will be automatically executed for returning and changing password.
15- If you wish to return the password before te specified duration, just follow the steps below.
- In Onepoint, go to Vault > Managed Credentials
- Click on the down arrow where the account you requested the password is and click on the option Check-in Password
- In Onepoint, Go to Task Evolution > Task Logs, you can verify that the task that was scheduled for the future was performed at the time you checked in the password manually.
