Installing Onepoint through Install Script on CentOS 7 with Hashicorp Vault
Contents
- 1 Introduction
- 2 Installing Onepoint through Install Script
- 3 Configure Database Parameters
- 4 Onepoint
- 5 Create a Vault Backend of class Hashicorp Vault and set it as default Vault Backend
- 6 Set root permissions for group admin on Delegate, Managed, List and My credentials
- 7 Configuring Onepoint Worker Daemon
Introduction
This page is intended to follow the installation procedure for Onepoint with Hashicorp Vault. For other procedures, please check the page Onepoint Procedures
Installing Onepoint through Install Script
- To download the onepoint script with the link. (to download you need git installed on the machine)
git clone https://github.com/onepointsoft/onepoint-netbr.git
- After downloading, run the Onepoint-Install.sh script.
 ]# cd onepoint-netbr/
 ]# bash onepoint-install.sh
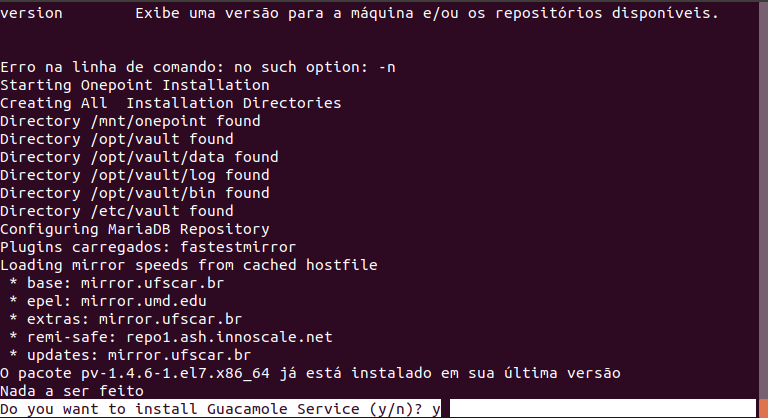
- Accept the installation Guacamole service.
- Accept to disable Selinux.
- At the end of the installation restart the machine.
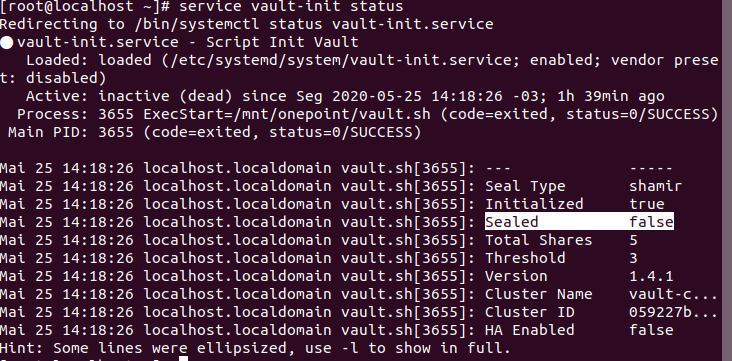
- After restarting the machine, check if the vault service is working as shown in the image below.
]# service vault-init status
Note: If the vault service does not match the image above, the vault is not working, use the service vault-init start command to initialize
Configure Database Parameters
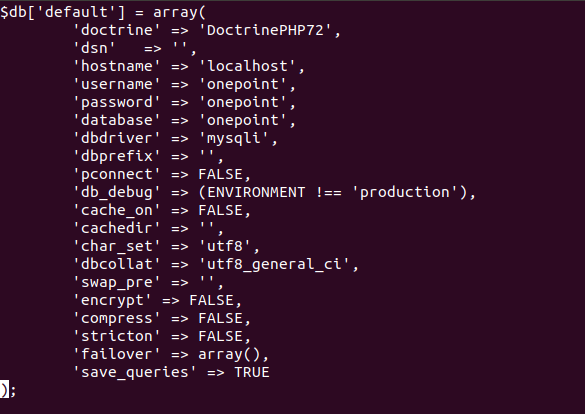
Database parameters are on /usr/share/onepoint/onepoint/application/config/database.php. Use your favorite text editor to specify them.
Note:As default the username and password is described as Onepoint as shown in the image above, the user can be changed as shown in the next steps.
- If you want to use another user for connecting to the database, at first, you need to create it, with permissions for logging in with password.execute this command:
mysql> GRANT ALL ON *.* TO 'your user'@'localhost' IDENTIFIED BY '<YOUR DESIRED PASSWORD>';
- Doing this, you need to use this user for connecting to Onepoint database, in all references for connecting to the database in this guide.
If Database parameters are not configured correctly, there is no Onepoint to function properly.
Onepoint
http://<HOSTNAME>/onepoint
- The hostname is the address of your repository configured in the previous step.
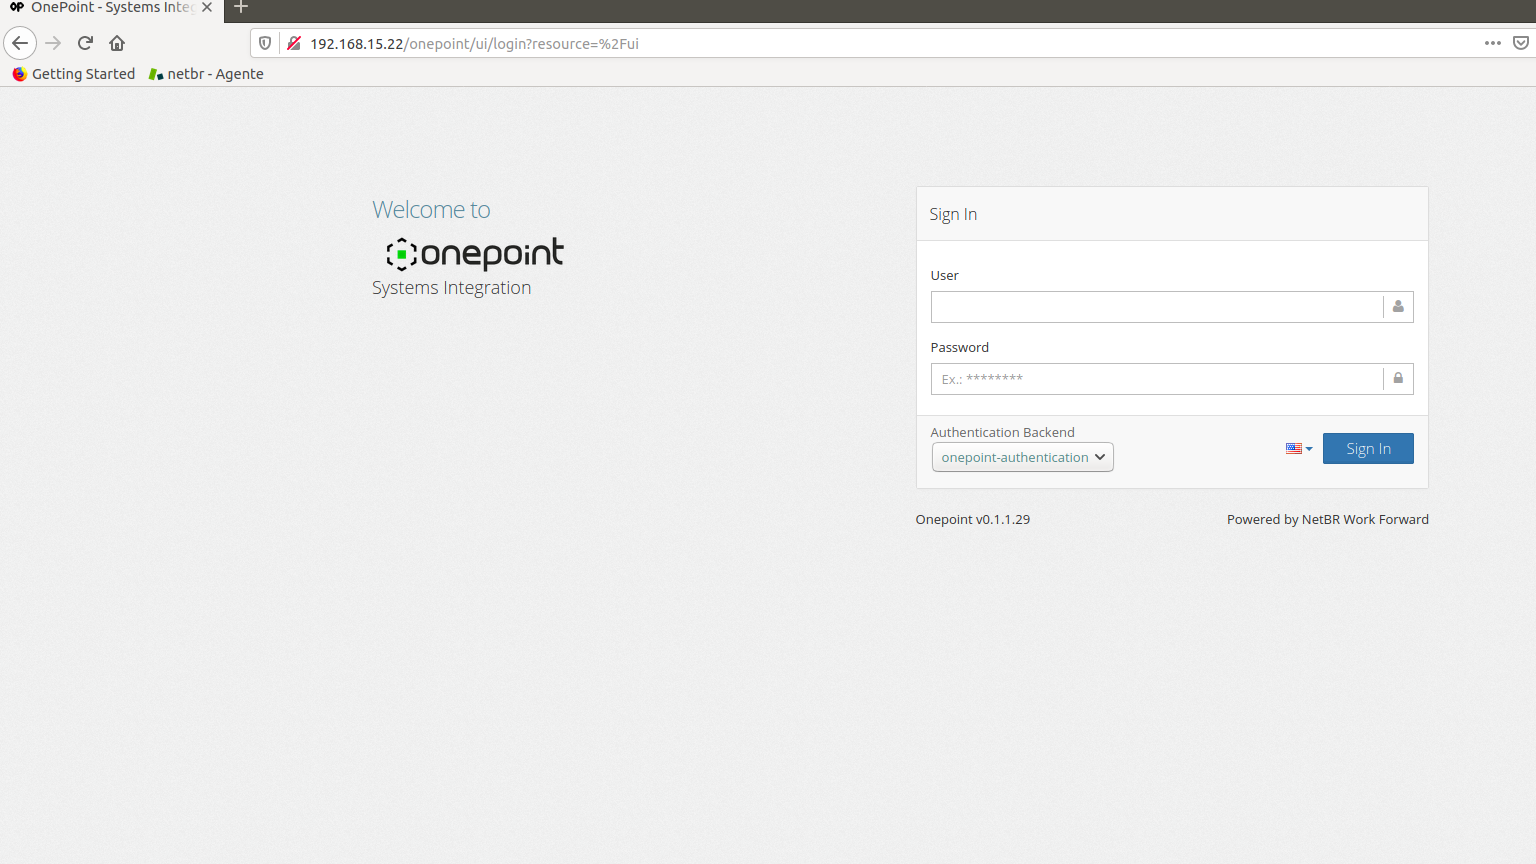
After doing the aforementioned procedures, the screen below will appear;
 USER: admin
 PASSWORD: password
Create a Vault Backend of class Hashicorp Vault and set it as default Vault Backend
Note: In this guide, we are using hashicorp-vault as name of the vault backend, but you can use a name of your choice. For this, all references to hashicorp-vault in this guide must be replaced for the new name.
1-To proceed with the configuration of the vault we will need two information Role_id and Secret_id.
- With the command below you will have the role_id.
]# cat role-id
- With the command below you will have the secret_id.
]# cat secret_id
Note: Save the result, for the next steps.
2- In Onepoint, you need to create a Vault Backend pointing to your Hashicorp Vault instance.
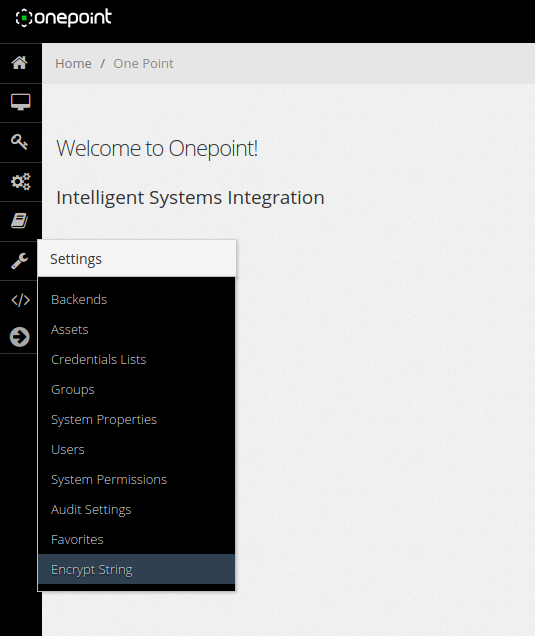
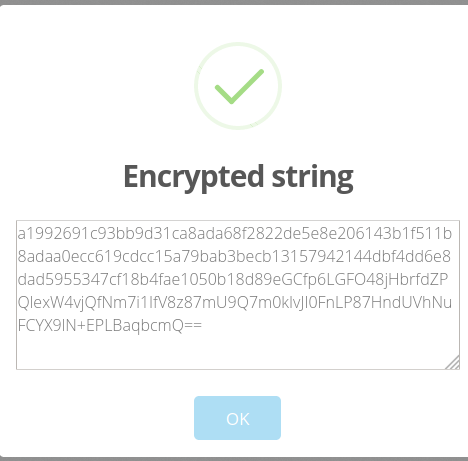
- In Onepoint, go to Settings > Encrypt String for encrypting role_id (for role created previously) and save the resulting value (copy and paste)
- Go to Settings > Encrypt String for encrypting secret_id (for role created previously) and save the resulting value (copy and paste)
- In Onepoint, go to Settings > Backends
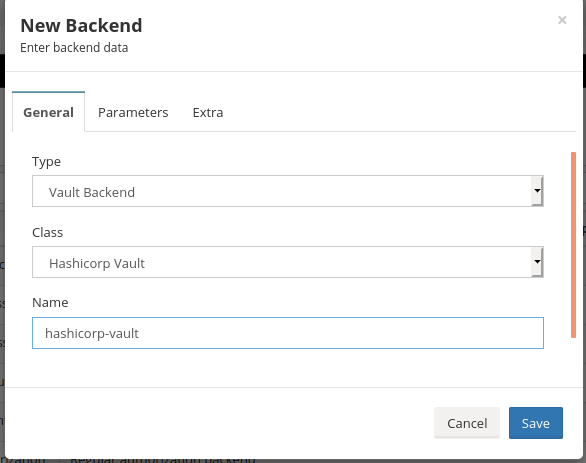
- Click New for creating a backend
- Select type Vault Backend and class Hashicorp Vault
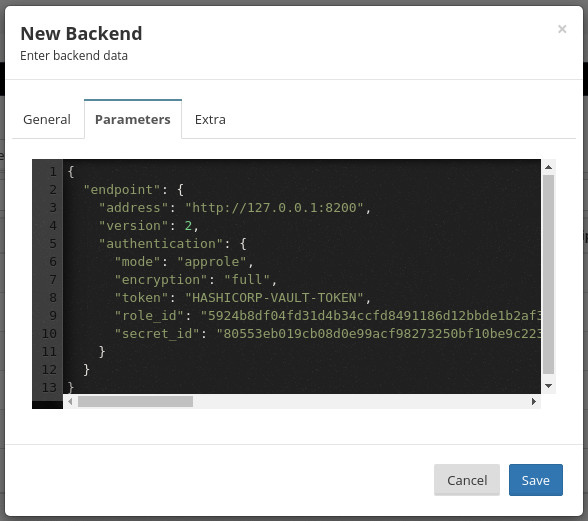
- In Parameters tab, set address to the Hashicorp Vault endpoint address, version to KV secrets engine version (2), mode to approle, encryption to full, and fill role_id and secret_id with the encrypted values generated in first step of this section.
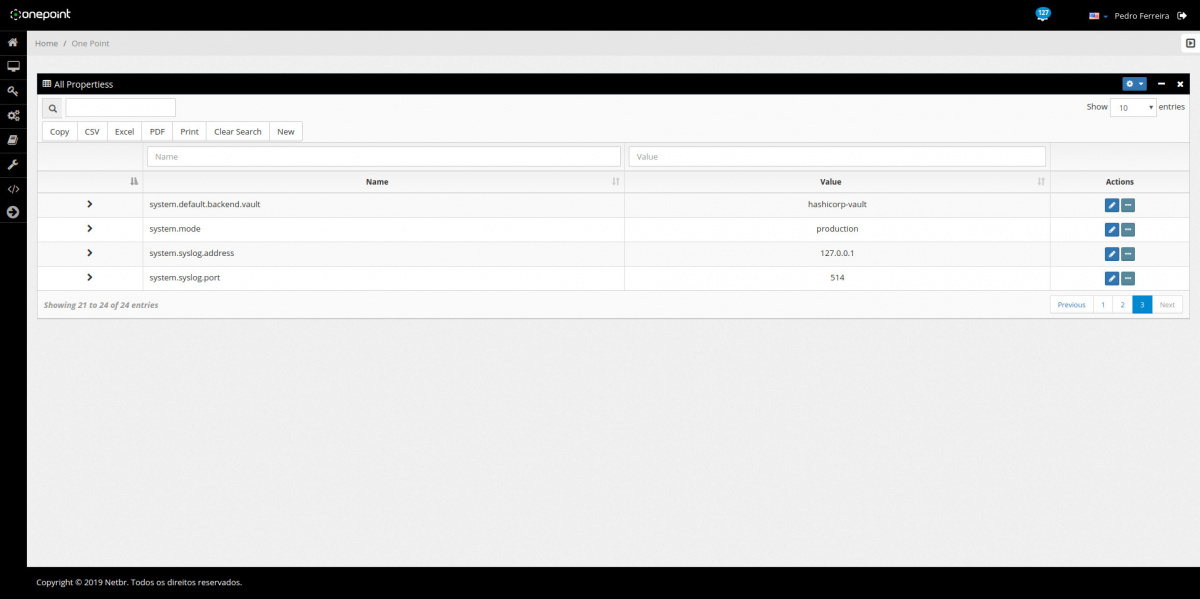
- Set hashicorp-vault Vault Backend as default Vault Backend in Onepoint. For this, access Settings > System Properties, and search for the property called system.default.backend.vault. Edit it and set it to hashicorp-vault.
Set root permissions for group admin on Delegate, Managed, List and My credentials
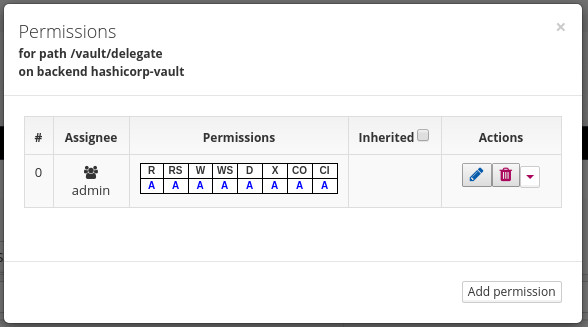
Root Permissions on Delegate Credentials
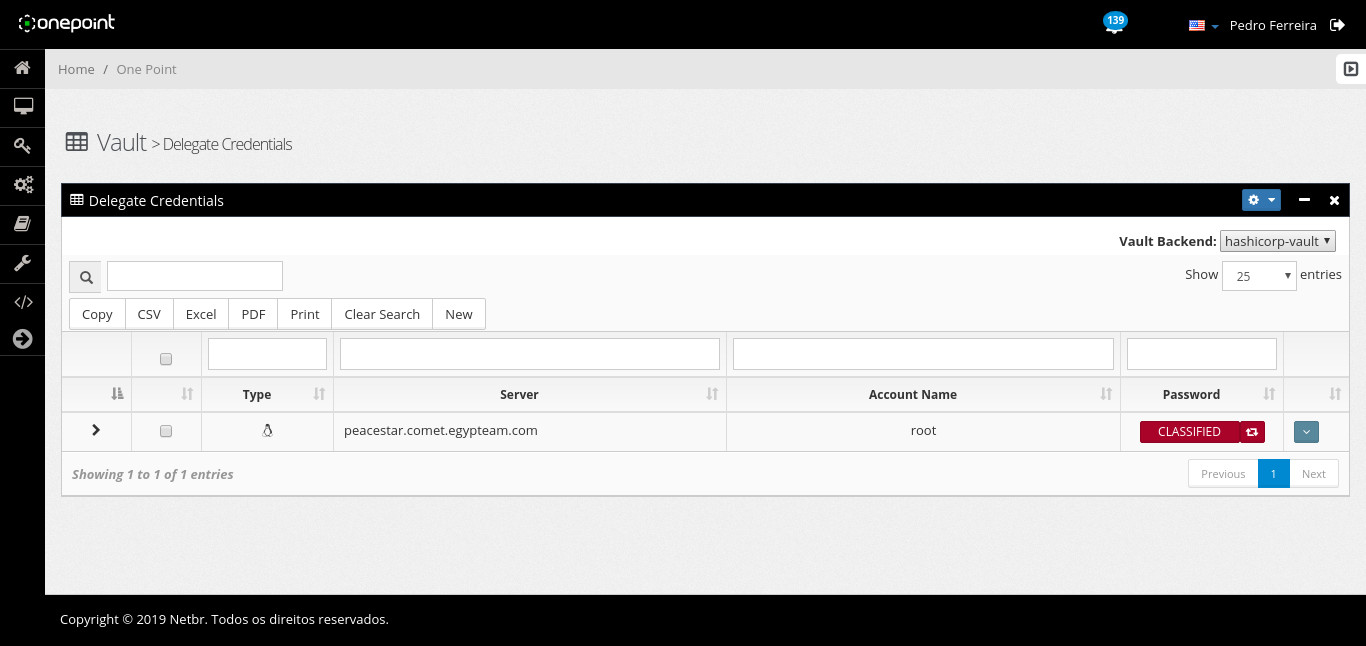
1. Go to Vault > Delegate Credentials
2. Select hashicorp-vault on the top-right corner of Delegate Credentials box
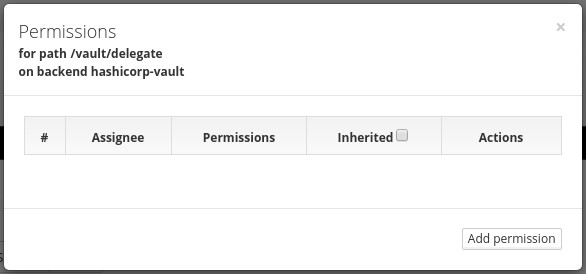
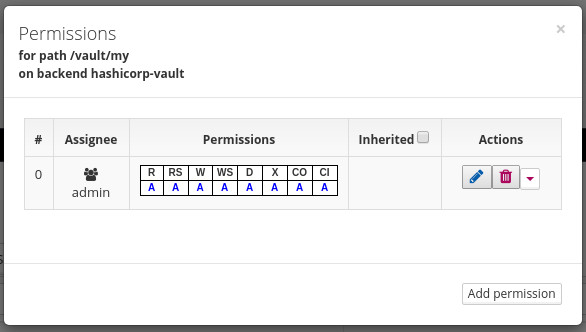
3. On the top-right corner of Delegate Credentials box, click in the gear icon and click on Root Permissions. The permissions dialog will open.
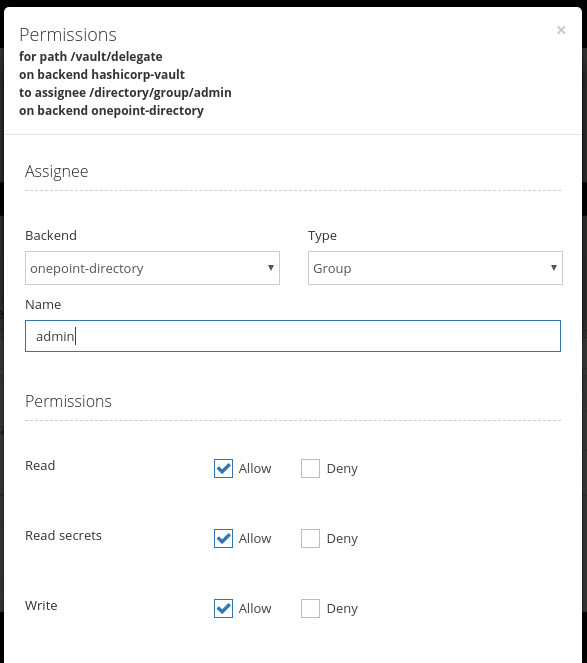
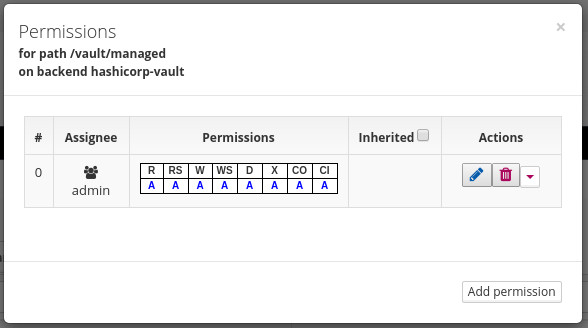
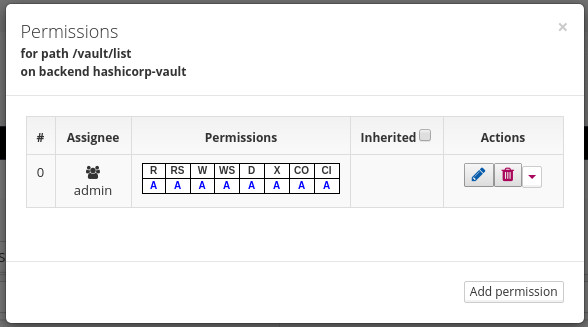
4. Add a permission for admin group (Onepoint Directory backend) with all permissions
Root Permissions on Managed Credentials
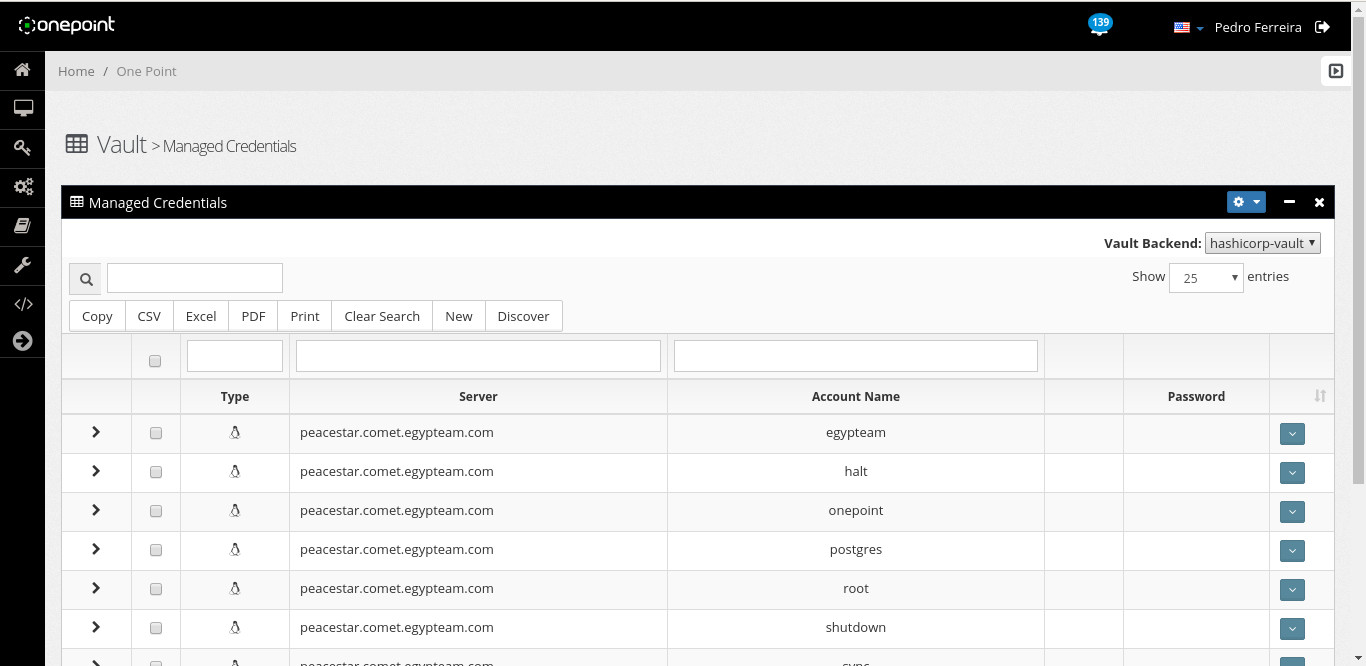
1. Go to Vault > Managed Credentials
2. Select hashicorp-vault on the top-right corner of Managed Credentials box
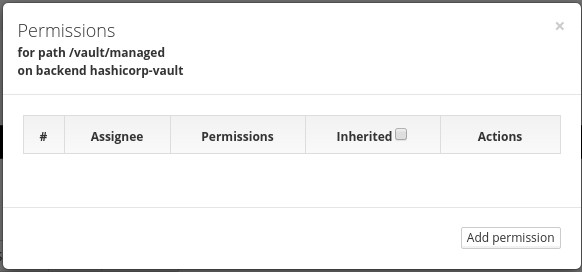
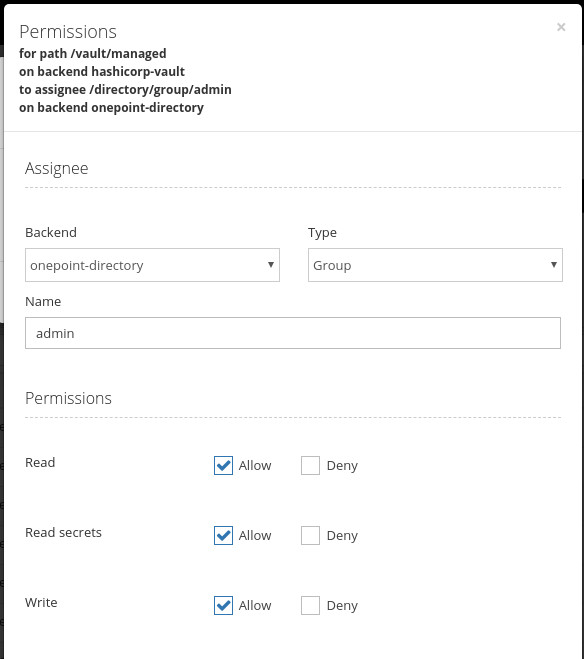
3. On the top-right corner of Managed Credentials box, click in the gear icon and click on Root Permissions. The permissions dialog will open.
4. Add a permission for admin group (Onepoint Directory backend) with all permissions
Root Permissions on Credentials Lists Credentials
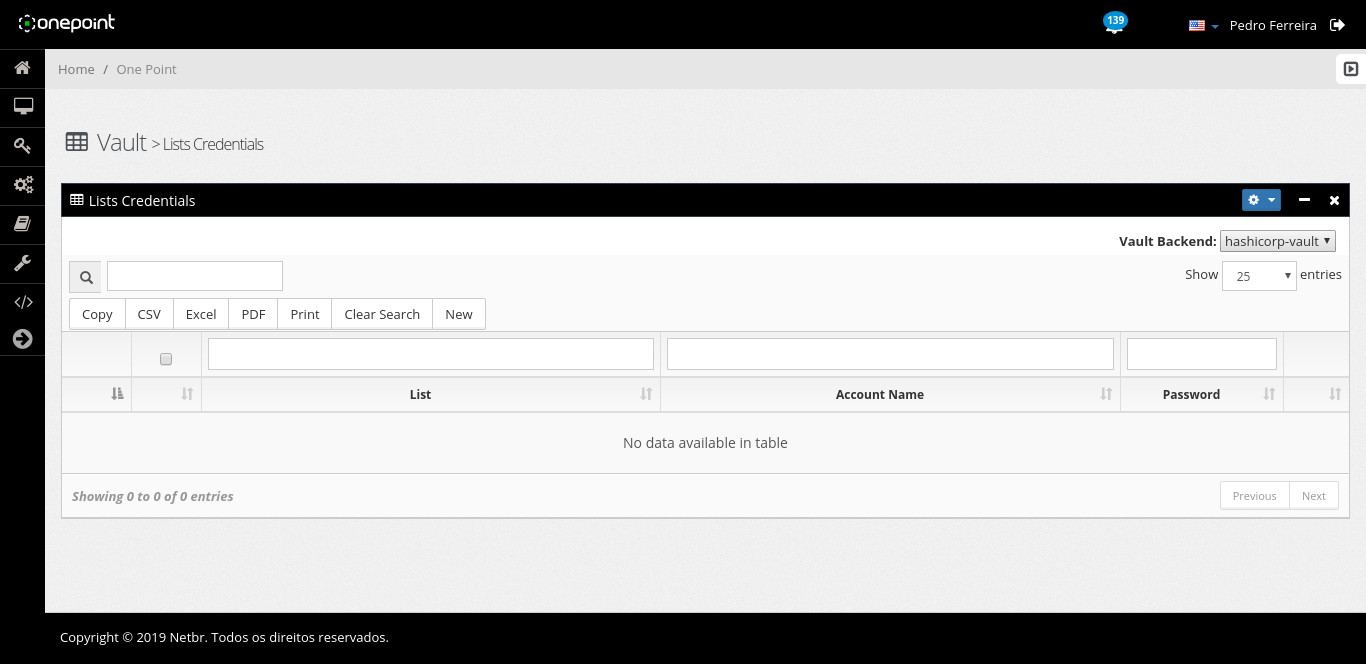
1. Go to Vault > Credentials Lists
2. Select hashicorp-vault on the top-right corner of Lists Credentials box
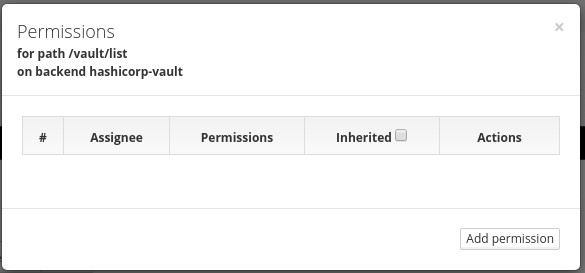
3. On the top-right corner of Lists Credentials box, click in the gear icon and click on Root Permissions. The permissions dialog will open.
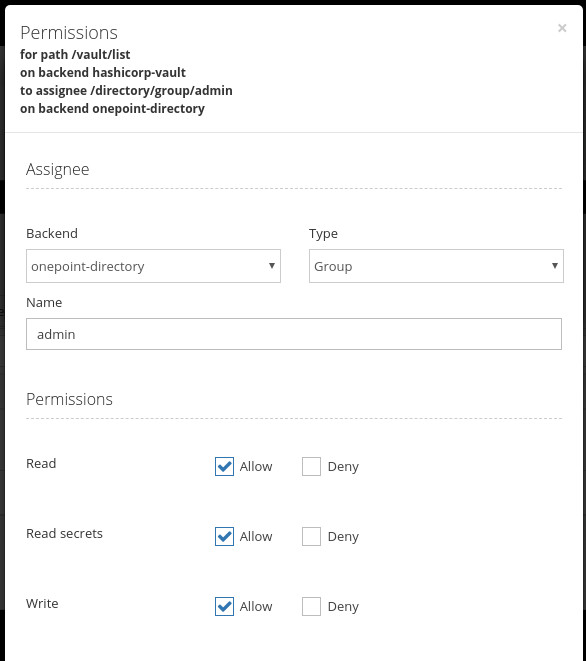
4. Add a permission for admin group (Onepoint Directory backend) with all permissions.
Root Permissions on My Credentials
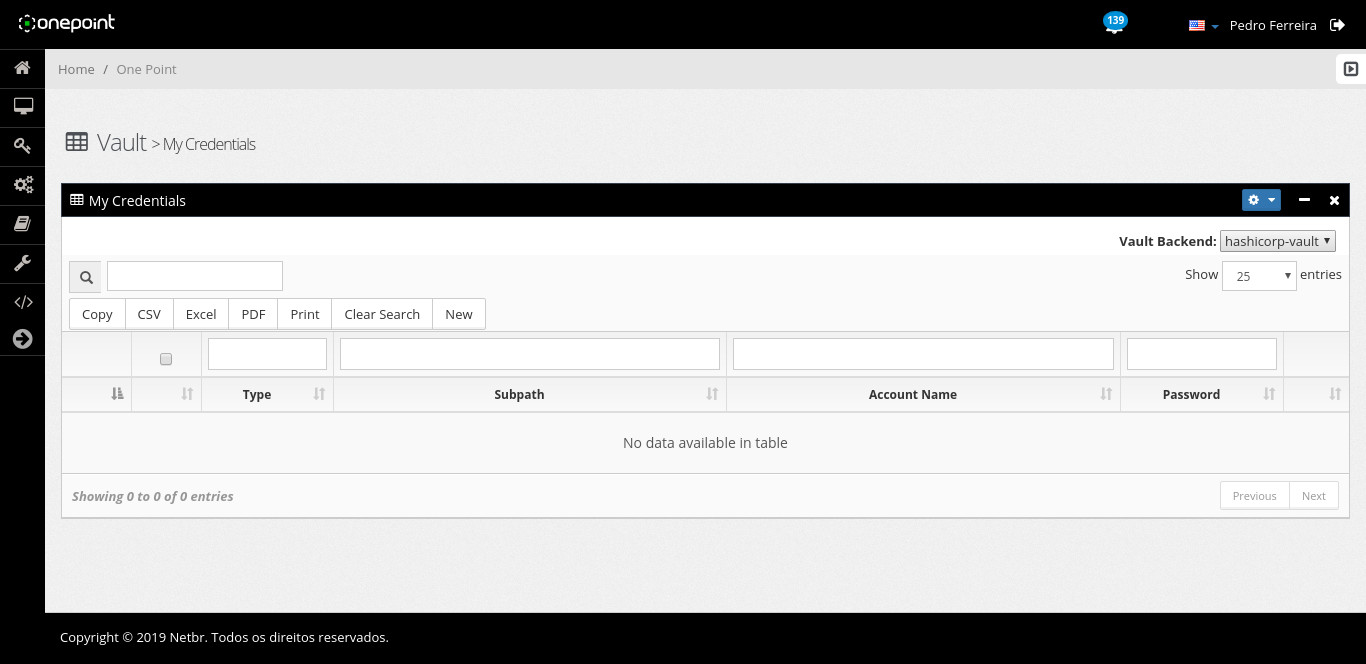
1. Go to Vault > My Credentials
2. Select hashicorp-vault on the top-right corner of My Credentials box
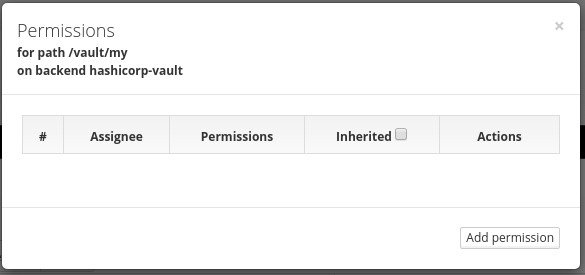
3. On the top-right corner of My Credentials box, click in the gear icon and click on Root Permissions. The permissions dialog will open.
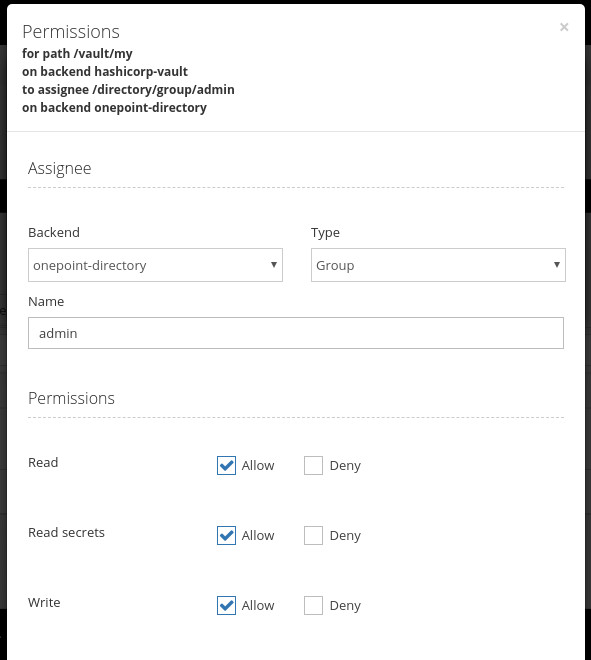
4. Add a permission for admin group (Onepoint Directory backend) with all permissions
Configuring Onepoint Worker Daemon
Onepoint Worker is on /usr/share/onepoint/onepoint-worker. To configure it, set the credentials in /usr/share/onepoint/onepoint-worker/cfg/config.json, and put the startup script in the root's crontab. Like this:
]# crontab -e
@reboot /usr/share/onepoint/onepoint-worker/start-onepoint-worker-su-30
You can start the service manually using
]# /usr/share/onepoint/onepoint-worker/start-onepoint-worker-su
And you can stop the service manually using
]# /usr/share/onepoint/onepoint-worker/stop-onepoint-worker

